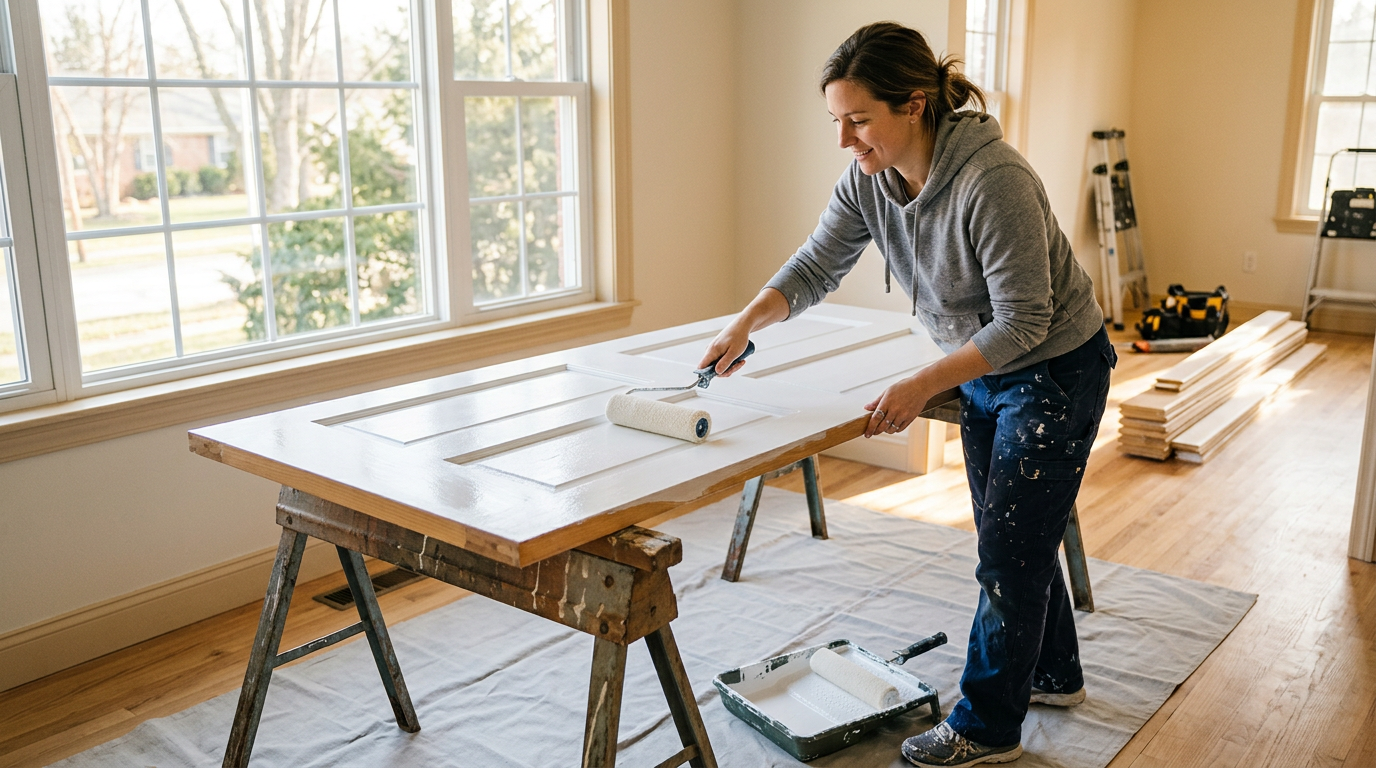
How to Paint Interior Doors for a Smooth, Professional Finish
A step-by-step guide to painting interior doors — prep, primer, paint choice, and technique for a flawless finish.
Primed doors arrive ready to paint, which makes them one of the most flexible choices you can buy — you pick the exact color. A great result is 80% preparation. Follow these steps and your doors will look factory-finished.
1. Prep the surface
Remove the door and lay it flat if possible. Lightly sand the primed surface with fine (220-grit) sandpaper to give the paint tooth, then wipe away all dust with a tack cloth. A clean, smooth surface is everything.
2. Prime if needed
Factory-primed doors usually need only a light scuff sand, but spot-prime any bare patches or repairs so the topcoat absorbs evenly.
3. Choose the right paint
Use a quality interior enamel or acrylic in satin or semi-gloss. These sheens wipe clean easily — valuable on a surface touched daily — and resist the humidity common in Florida homes.
4. Paint in the right order
On a panel door, paint the recessed panels first, then the horizontal rails, then the vertical stiles, following the wood direction. On a flush door, work top to bottom in sections, keeping a wet edge to avoid lap marks.
5. Two thin coats
Two thin coats always beat one thick coat. Let the first dry fully, give it a very light sand, wipe clean, and apply the second. Rehang only when the paint has cured enough to handle.
Prefer to skip the work?
If you would rather not paint, a natural wood veneer door arrives beautifully finished. Browse primed doors to paint your color, or veneer doors for a ready finish.